Getting your business email set up on an iPhone should be simple. For most people using major providers like Gmail or Outlook, the automatic setup is your quickest win—you’ll just need your email address and password. But if you’re using email with a custom business domain, you’ll probably need to get your hands dirty with a manual setup.
Getting Started With Your iPhone Email Setup
Before you jump into the settings, let’s figure out which path is right for you. Your iPhone’s Mail app is smart enough to handle most of the heavy lifting, but the right approach all comes down to who provides your email service.
For any small business owner, having solid email access on the move isn’t just a nice-to-have; it's the lifeblood of your operations. This guide is all about practical advice to get your communications flowing smoothly and help you sidestep those common setup frustrations. Of course, before you dive into email, you might be deciding which device is best for your budget, especially when looking at the best refurbished iPhones on the market.
Automatic vs Manual Setup
Most modern email services play very nicely with iOS. The automatic option is designed for popular platforms where your iPhone can find all the server settings it needs from just your email address and password. This is definitely the way to go for services like:
- Gmail & Google Workspace
- Outlook & Microsoft 365
- iCloud
- Yahoo! Mail
On the other hand, you'll need a manual setup when the Mail app can't figure things out on its own. This is pretty common for email hosted with a custom domain (like you@yourcompany.co.uk) through providers like GoDaddy, IONOS, or other web hosts. For this, you’ll need to have your incoming (IMAP/POP) and outgoing (SMTP) server details ready to type in yourself.
To make it dead simple, here’s a quick table to help you decide.
Which iPhone Email Setup Is Right for You?
| Email Provider Type | Recommended Setup Method | Best For |
|---|---|---|
| Major Public Providers | Automatic | Gmail, Outlook, Yahoo!, iCloud. |
| Custom Domain Email | Manual | Your name@yourbusiness.co.uk email hosted by a third party. |
| Microsoft Exchange | Automatic | Corporate email systems that use Exchange servers. |
Ultimately, if you’re using a well-known service, always try the automatic route first. It's designed to be a two-minute job.
Getting your email setup on an iPhone spot on is more important than you might think. In the UK, iPhone users are a huge part of the mobile email scene, making up 28.4% of all mobile email opens. It just goes to show how vital it is for businesses to ensure their emails are correctly configured for this massive audience.
Why a Proper Setup Matters for Your Business
A correct email setup isn't just about convenience; it’s about maintaining your professional image and keeping your business running efficiently. When emails sync perfectly across your phone, tablet, and computer, you can jump on client enquiries faster and manage your workflow from anywhere.
Getting the configuration wrong can lead to all sorts of headaches, like emails getting stuck in your outbox, messages vanishing, or your battery draining because the app is constantly struggling to fetch data. By taking a few minutes to get the process right, you’ll save yourself a lot of time and hassle later. To further elevate your business presence, exploring our guides on local SEO can be a great next step. Learn more about how Bare Digital can help your business grow.
Using Automatic Setup for Major Email Providers
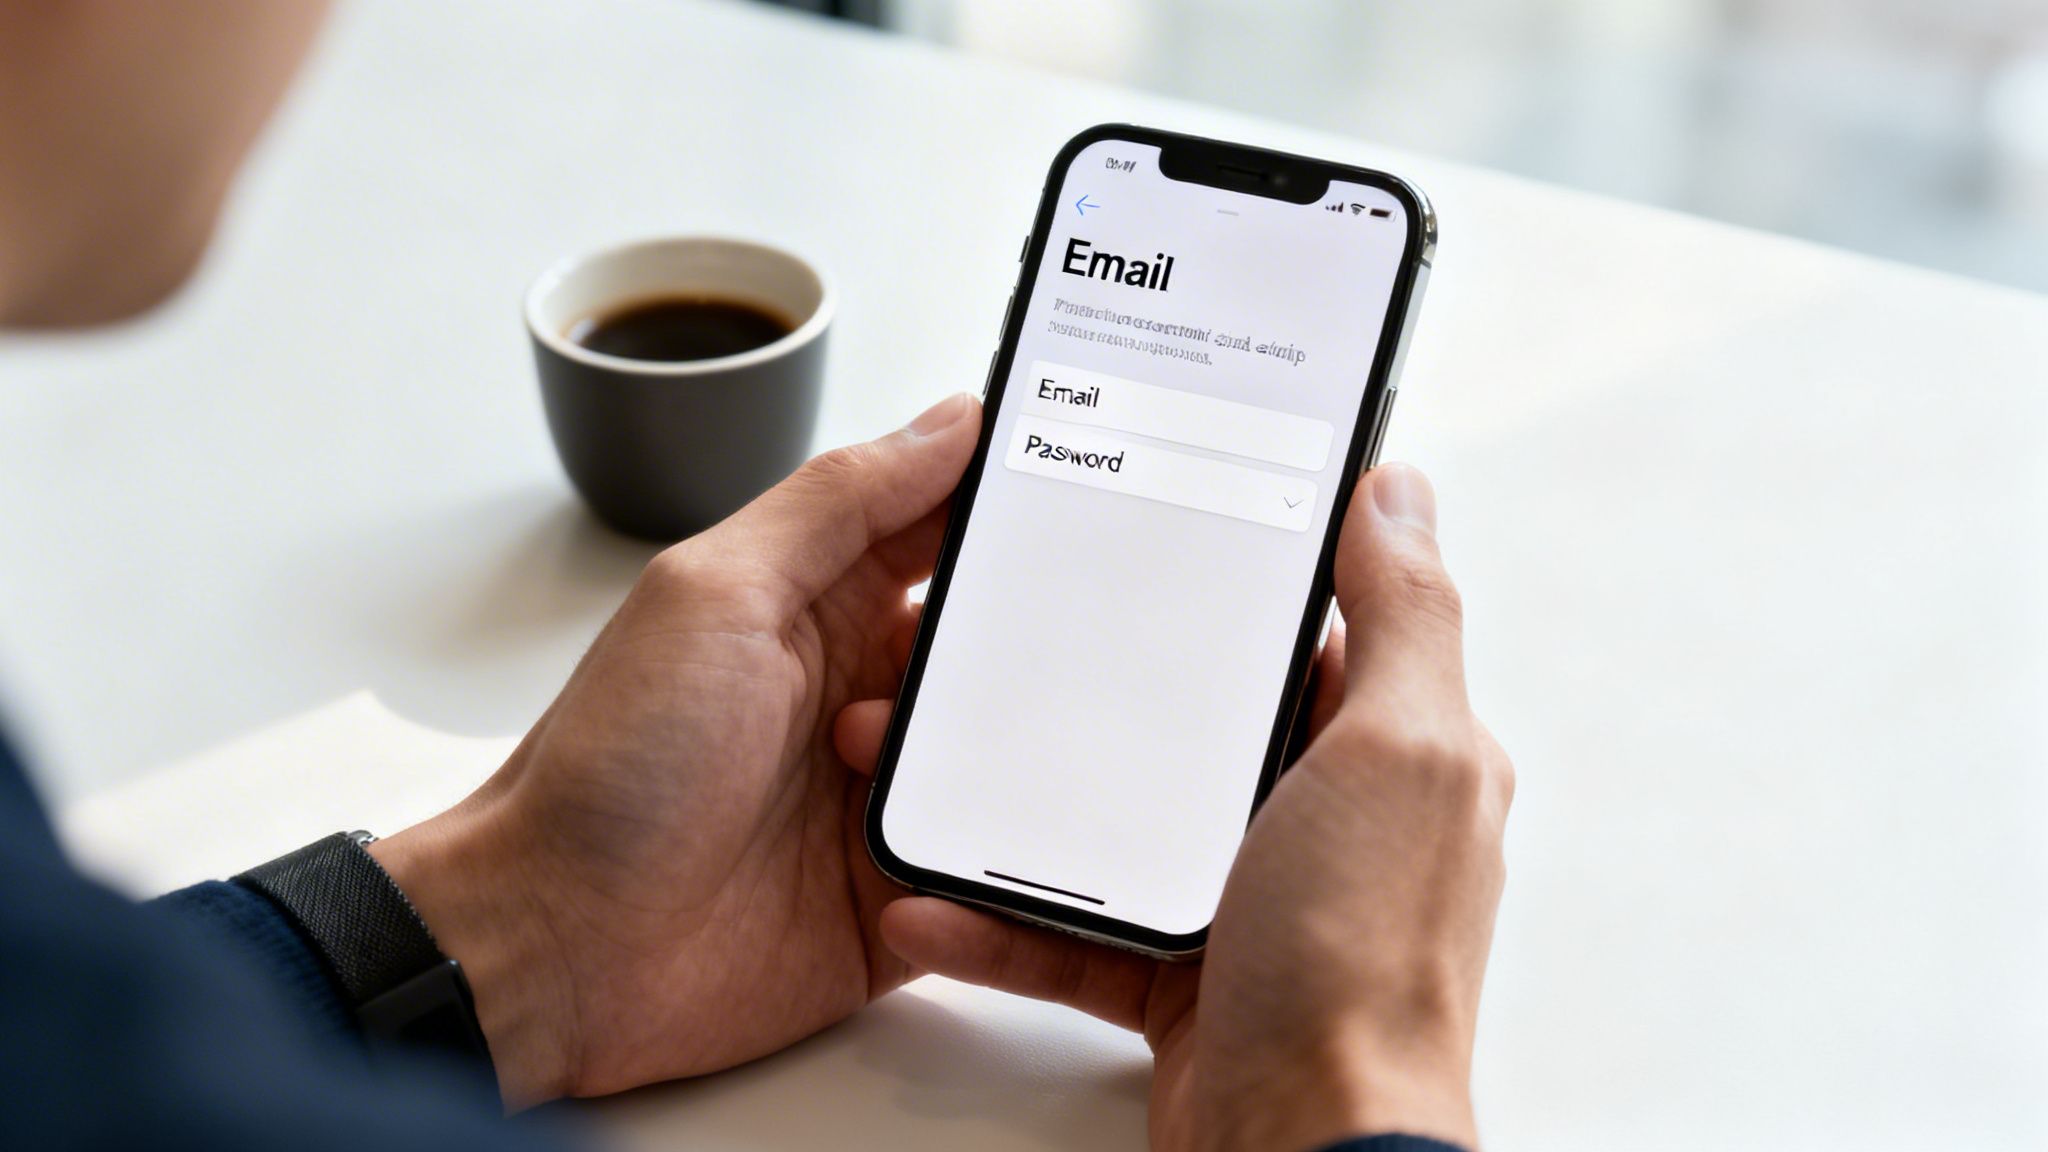
For most business owners, time is your most valuable asset. The great news is that getting your email up and running on your iPhone is incredibly fast for all the big players like Gmail, Outlook, iCloud, and Yahoo. This isn't a long, drawn-out technical task; for most people, it takes less than two minutes.
Your iPhone does all the heavy lifting for you. When you pop in your email address and password, iOS goes and has a quiet word with your provider's servers. It automatically fetches all the technical settings—IMAP, SMTP, security protocols, the lot. You don't need to know what any of that alphabet soup means. It just works.
The First Steps in Your iPhone Settings
Getting started is straightforward. The entire process begins in your iPhone's main Settings app, which is the control centre for just about everything on your device.
From there, you just need to tap your way to the right screen. The path is always the same:
- First, open up the Settings app.
- Scroll down the list and tap on Mail.
- From there, go into Accounts.
- Finally, hit Add Account.
This quick sequence takes you right to a list of the most common email providers, letting you kick off the automatic setup in a couple of taps.
As you can see, Apple puts the most popular choices—like iCloud, Microsoft Exchange, and Google—right at the top. It’s a smart design choice that genuinely speeds up the email setup on your iPhone for well over 90% of users.
What to Expect for Different Providers
While the first few taps are always the same, how you log in can differ slightly depending on who provides your email. Knowing what’s coming makes the whole process feel even smoother.
If you’re adding a Gmail or Google Workspace account, for instance, you won't just type your password into a standard Apple screen. Instead, you'll be handed over to a secure Google sign-in page that pops up right inside the setup process. This is a vital security step.
You’ll be asked to enter your email and password directly on Google’s own login page. This protocol, called OAuth, means your credentials are never actually shared with Apple, giving you a much more robust layer of security.
Once you’ve signed in, Google will ask for permission to let iOS access your mail, contacts, and calendars. Just tap ‘Allow’, and you’re all set. The account is added instantly.
Adding a Microsoft Exchange account, which is common in many business environments, follows a very similar secure process. After you select 'Microsoft Exchange' from the list and enter your email address, the system will probably redirect you to your company's own branded sign-in portal. This is where you'll enter your password and, if your company has it enabled, complete a two-factor authentication step.
Once you’re authenticated, your iPhone will ask which services you want to sync. You'll typically see:
- Mail: The absolute essential for sending and receiving messages.
- Contacts: Syncs your business address book to your iPhone.
- Calendars: Keeps your work schedule perfectly up-to-date.
- Reminders & Notes: Syncs any other data tied to your account.
You can toggle each of these on or off, but for a complete business setup, it’s almost always best to enable them all. This is what ensures that when you add a client's contact details or a meeting to your calendar on your computer, it appears on your iPhone seconds later. This seamless sync is the real power of the automatic setup—it creates a connected ecosystem that keeps your business humming across all your devices, no effort required.
Mastering Manual Setup for Your Business Domain
When the automatic setup on your iPhone throws its hands up, it's usually because you're using a proper, branded email address like contact@yourlocalbakery.co.uk. This isn't a sign of a problem; it's just your cue to take control with a manual setup.
While "manual setup" might sound a bit technical, it’s really just a case of telling your iPhone exactly where to find your emails. This is standard practice if your email is hosted with your website provider—think IONOS, GoDaddy, or Krystal. Your phone simply needs the right address and password for the mail server.
This visual shows the simple path to get to the screen where all the magic happens.
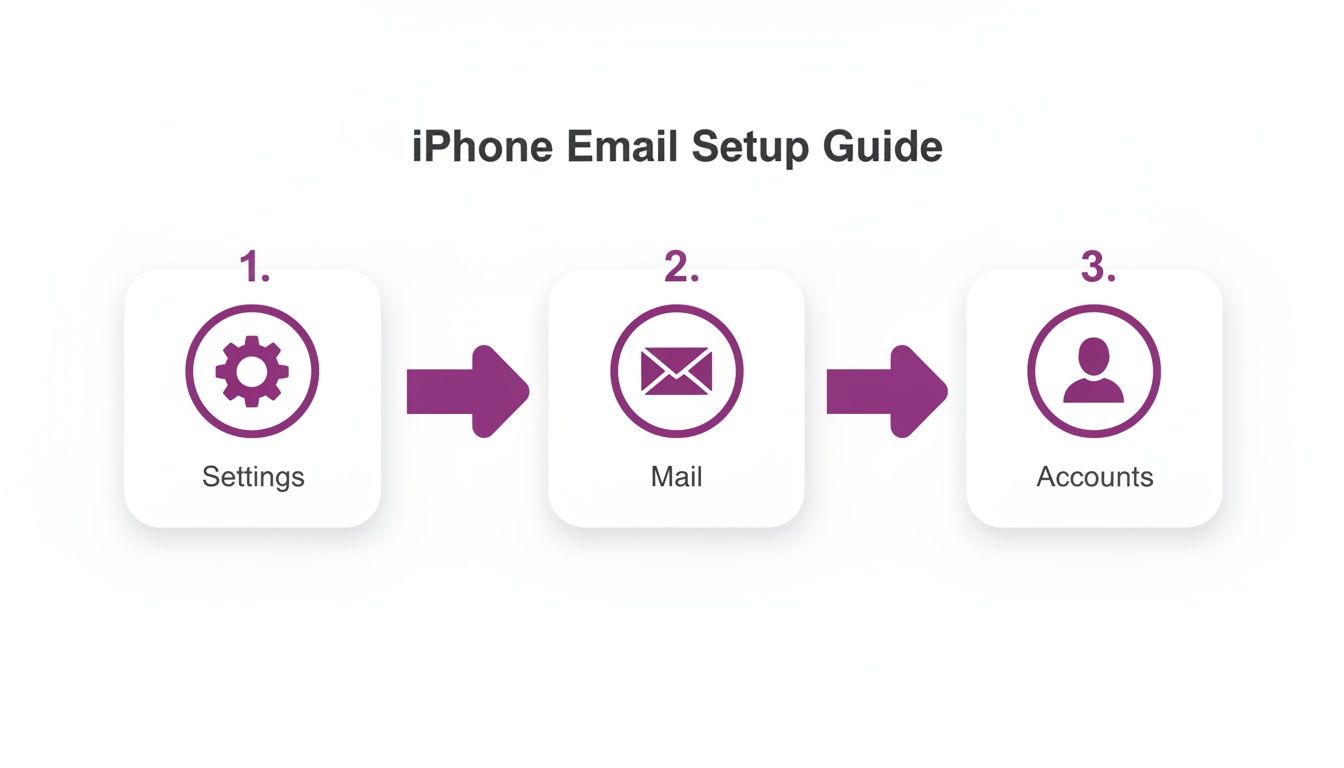
The journey from the Settings app to the Accounts screen is the universal starting point for any email setup on an iPhone, leading you straight to where you'll punch in your custom details.
Why IMAP Is Really The Only Choice for Business
Before we dive into the settings, let’s get one crucial decision out of the way: choosing between IMAP and POP. These are simply the two main methods your email app can use to fetch your messages.
POP (Post Office Protocol) is the older system. It downloads your emails from the server to one single device and then—crucially—often deletes them from the server. Think of it like collecting your post; once it's in your house, it's gone from the post office. This is a massive headache if you check emails on both your iPhone and your laptop, as your messages will never be in sync.
IMAP (Internet Message Access Protocol) is the modern standard. It leaves all your emails on the server and just syncs a live view of them across all your devices. When you read an email on your phone, it’s instantly marked as read everywhere else. This is absolutely vital for any business owner who needs consistent access to their entire email history from any device, at any time.
IMAP vs POP Which Is Better for Your Business?
Choosing the right protocol isn't a minor detail; it fundamentally changes how you interact with your email. This table breaks down the key differences.
| Feature | IMAP (Recommended) | POP |
|---|---|---|
| Email Storage | Stored on the server, synced across all devices. | Downloaded to a single device, then often deleted from the server. |
| Multi-Device Sync | Seamless. Actions (read, delete, move) are reflected everywhere. | Poor. Emails are siloed on the device they were downloaded to. |
| Data Access | Access your entire email history from any device with a connection. | Only access new emails on new devices; old messages are stuck. |
| Backup | Emails are continuously backed up on the server (by your provider). | If your device fails, you can lose all downloaded emails permanently. |
| Best For | All modern businesses, teams, and individuals using multiple devices. | Outdated use cases; not recommended for business in 2026. |
For any modern business, the choice is clear. Always choose IMAP. It guarantees your email is synchronised everywhere, giving you a single source of truth for your communications whether you're at your desk or on the move.
Gathering Your Server Settings
This is the part that trips most people up, but it really doesn't have to. You just need to grab a few key bits of information from your email hosting provider. You can usually find these details in the "email setup" or "help" section of your hosting account's control panel.
If you can’t find them, a quick search for "[Your Host Name] IMAP settings" will almost always point you in the right direction. Here's a checklist of exactly what to have ready before you start:
Incoming Mail Server (IMAP)
- Host Name: Often something like
imap.yourhost.co.uk - Username: Your full email address (e.g.,
info@mybusiness.co.uk) - Password: Your email account password
- Port: Usually 993 (for SSL/TLS)
- Security: Make sure SSL/TLS is enabled
Outgoing Mail Server (SMTP)
- Host Name: Often something like
smtp.yourhost.co.uk - Username: Your full email address (again)
- Password: Your email password (again)
- Port: Usually 465 or 587 (for SSL/TLS)
- Security: Make sure SSL/TLS is enabled
Having these details jotted down before you start will make the entire process take just a couple of minutes.
A Practical Walkthrough for Manual Setup
Let's imagine you run a local consultancy and need to set up enquiries@yourconsultancy.co.uk. You've got your IMAP and SMTP settings from your hosting provider ready to go.
First, you’ll head to Settings > Mail > Accounts > Add Account. Instead of choosing one of the big names like Google or Outlook, you'll tap Other, then select Add Mail Account.
On the next screen, you’ll fill in your name, your full email address, your password, and a description for the account (e.g., "Consultancy Email"). Tap Next. Your iPhone will try to find the settings on its own and will likely fail, which is exactly what we expect. It will then show you the manual configuration screen, where you can select IMAP.
This is where you'll use the information you gathered earlier. Carefully enter the host names, usernames, and passwords for both the Incoming and Outgoing Mail Servers, exactly as your provider gave them to you. A single typo here is the number one reason for setup failure, so double-check everything.
The Apple Mail app commands a staggering 56.32% of the global email client market share. With iPhones making up over 45% of the UK smartphone market, ensuring your professional email works flawlessly on this platform is just good business sense.
After entering your details, tap Next. Your iPhone will take a moment to verify the settings. If everything is correct, you'll see a final screen asking which services (Mail, Notes) you want to sync. And that's it—your professional, branded email is now fully configured and ready to use on your iPhone. This manual process gives you total control and ensures your email just works.
If you're looking to polish other parts of your digital presence, you might want to explore our Google Business Profile audit tool to make sure local customers can find you.
Optimising iPhone Mail for Productivity
Getting your email account connected is just the starting line. The real gains come from fine-tuning the Mail app to work as hard as you do, turning it from a simple inbox into a proper business tool. These are the small, smart adjustments that can claw back hours from your week and make sure you never miss that critical client message.And getting these settings right matters, especially here in the UK. The latest research shows that a massive 55% of all UK email opens happen on mobile devices, and the iPhone is king, accounting for an impressive 28.4% of those. This dominance makes a well-optimised iPhone email setup a massive advantage for any business wanting to stay on top of its communications.
Find Your Perfect Balance with Push vs Fetch
Every iPhone user eventually faces the same dilemma: the tug-of-war between instant notifications and all-day battery life. This is all controlled by your Push and Fetch settings, which you’ll find tucked away under Settings > Mail > Accounts > Fetch New Data.
The difference is actually pretty simple:
- Push: Your email server instantly pushes new messages to your iPhone the second they land. This is perfect for your main business account where every moment counts.
- Fetch: Your iPhone proactively checks for new mail on a schedule you set (like every 15 minutes, 30 minutes, or hourly). This is a lifesaver for less urgent accounts, as it groups requests and saves a surprising amount of battery.
A smart strategy is to set your main business account to Push for real-time updates. For your secondary or personal accounts, just switch them over to Fetch every 30 minutes. This gives you a fantastic blend of responsiveness and efficiency—a lesson many of us learn the hard way after a long day of meetings ends with a dead phone.
Never Miss a Critical Message with VIP Alerts
Let's be honest, not all emails are created equal. A message from your top client is infinitely more important than the latest promotional newsletter. This is where the VIP inbox becomes your secret weapon.
You can flag any contact as a VIP. From then on, their emails land in a special, high-priority inbox and can even have a unique notification sound and vibration pattern. It’s a brilliant way to ensure that even when you’re swamped, messages from the people who matter most always cut through the noise.
Adding a VIP is easy. Just open an email from the person, tap their name in the "From" field, and on the contact card that pops up, select Add to VIP. It’s a tiny action that makes a massive difference in managing client relationships and responding to urgent issues quickly.
Craft Professional Signatures for Each Account
Your email signature is your digital business card, and that generic "Sent from my iPhone" just looks unprofessional when you're talking to clients. The Mail app lets you create a unique signature for every email account you have.
Head over to Settings > Mail > Signature. You can select "Per Account" and craft a distinct, professional signature for your business email that’s different from your personal one. Just include your name, title, company, and a contact number to keep your brand looking sharp in every message.
Pro Tip: Keep your mobile signature brief. A full desktop signature with logos and social media icons can look messy and cluttered on a small screen. For mobile, stick to the absolute essentials for a clean, professional finish.
Beyond these tweaks, optimising your iPhone mail for real productivity also means locking down your communications with robust email security best practices to protect your business data.
Understand Mail Privacy Protection
Apple's Mail Privacy Protection is a game-changer for how email engagement is tracked. Once it’s enabled, it hides your IP address and pre-loads all remote content (like tracking pixels) in the background.
This means senders can no longer reliably see if or when you've opened their emails. For your own business, this has two major implications:
- Open rates are no longer a reliable metric for your email marketing campaigns. You just can’t trust them anymore.
- It reinforces the importance of creating genuinely compelling content that encourages clicks and direct engagement, as those actions are still fully trackable.
By getting to grips with these features, you can go way beyond a basic email setup on your iPhone and truly customise the Mail app to fit the real-world demands of your business.
Solving Common iPhone Email Problems
Even with a perfect email setup on an iPhone, things can go wrong. An unexpected error or a message that just won't send can bring your workday to a grinding halt, but most of these issues are surprisingly simple to fix without having to call in the IT cavalry.
This is your go-to guide for the most common iPhone email headaches. We’ll walk through the practical checks that solve these problems, getting you back to business fast.
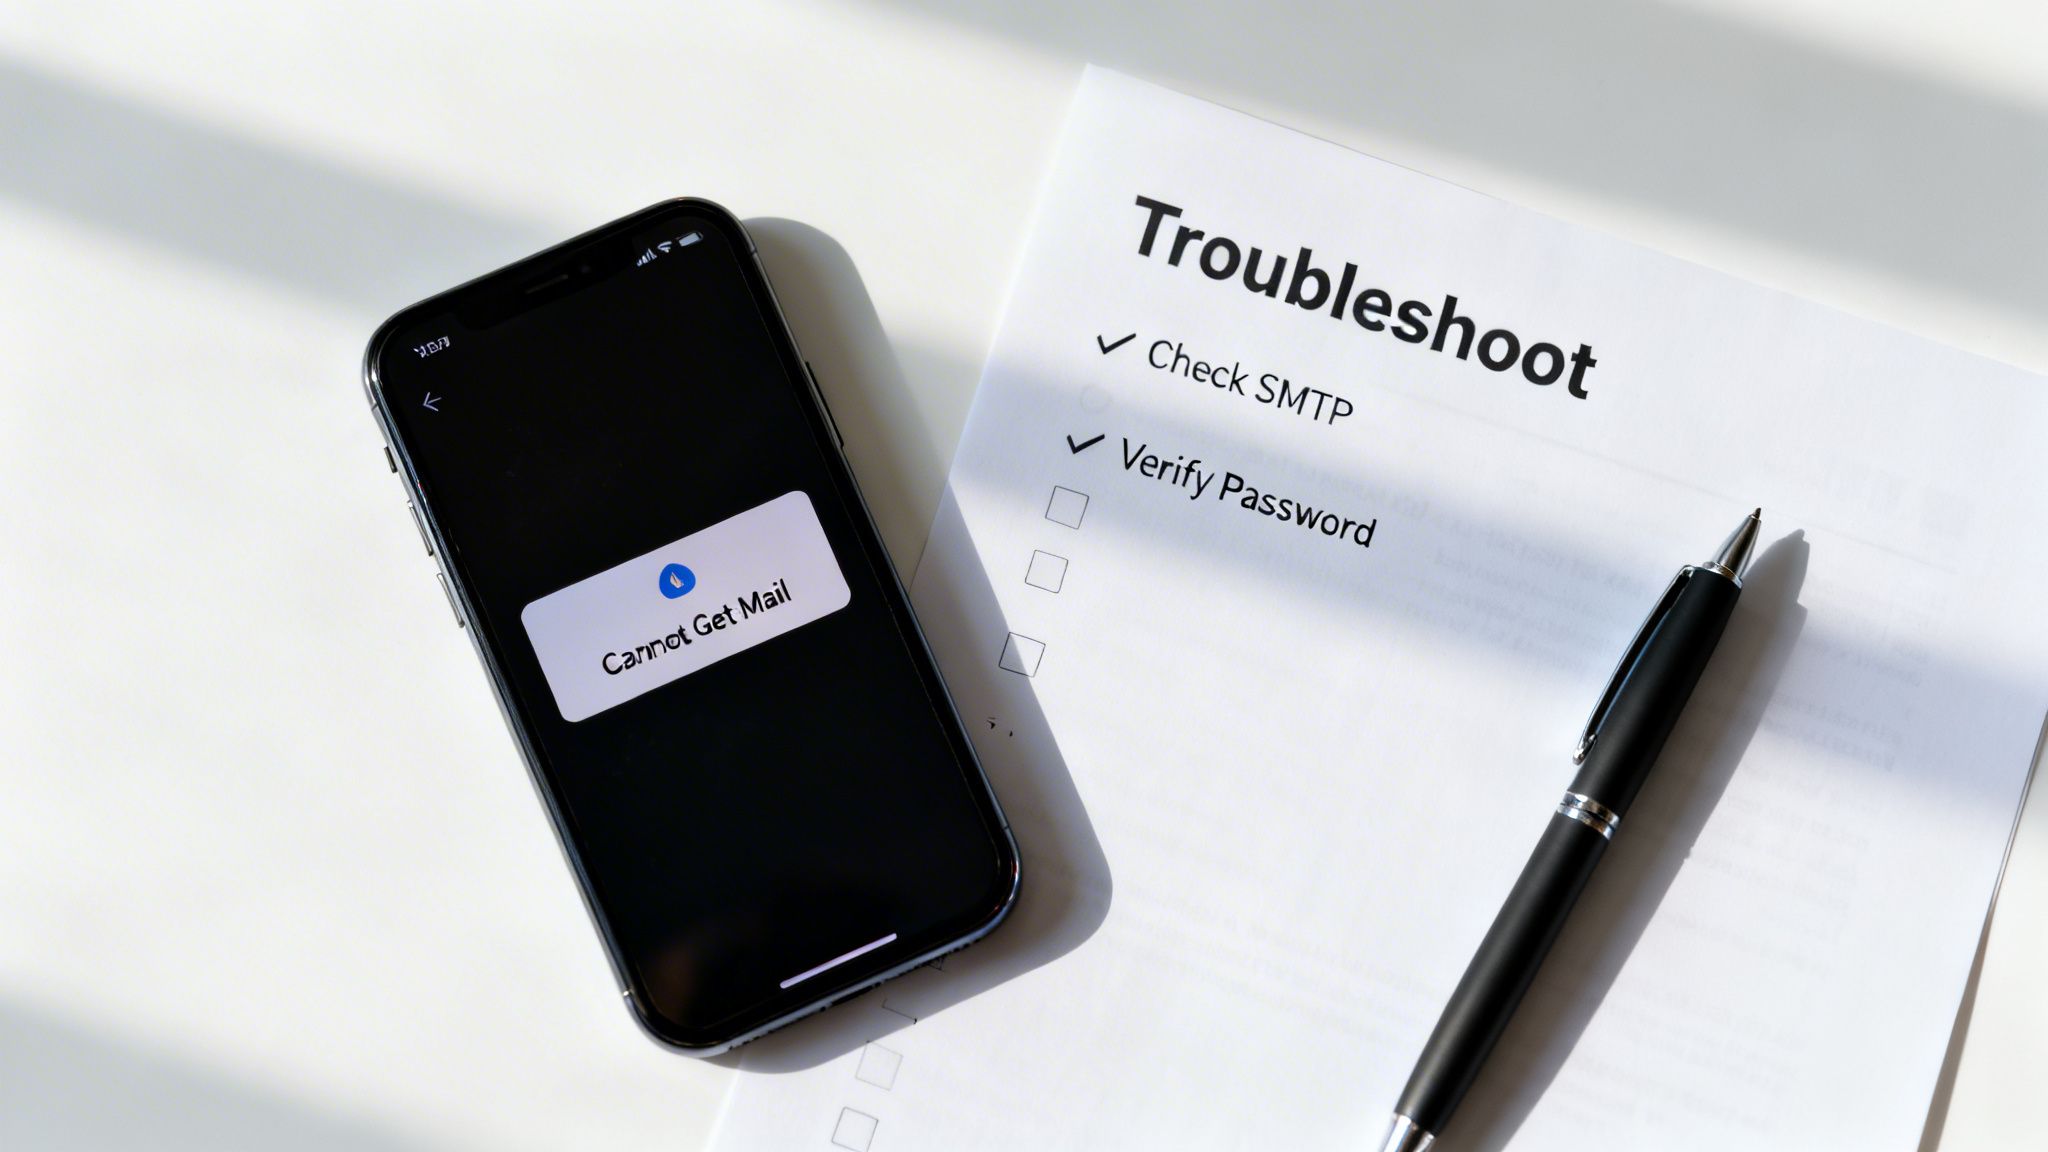
Diagnosing the 'Cannot Get Mail' Error
The "Cannot Get Mail" alert is probably the most frequent and frustrating issue you'll face. It’s a vague message that just means your iPhone couldn't connect to the email server. While it sounds dire, the real cause is usually something minor.
Before you start digging into complex settings, always start with the absolute basics. It's amazing how often a simple network issue is the true culprit.
Check Your Internet Connection: Do you have Wi-Fi or a solid mobile data signal? Try loading a webpage in Safari. If nothing happens, you've found your problem.
Toggle Aeroplane Mode: Pull down your Control Centre, tap the aeroplane icon to turn it on, wait 15 seconds, and tap it again to turn it off. This forces your iPhone to re-establish all its connections and can clear a temporary glitch.
Restart Your iPhone: The old "turn it off and on again" advice is a classic for a reason—it works. A full restart can flush out countless little software conflicts that might be interfering with your Mail app.
If these first few steps don't fix it, the problem is almost certainly with your account settings. This is especially common if you've recently changed your email password on your computer but forgot to update it on your phone.
The Mail app won't always give you a clear "Wrong Password" alert. Instead, it often falls back on the vague "Cannot Get Mail" error. If the simple network fixes don't work, checking your password should always be your next move.
Head to Settings > Mail > Accounts, tap the account that's playing up, and re-enter your password. This one step resolves the issue more than half the time.
Fixing Emails Stuck in Your Outbox
There's nothing more unnerving than sending an urgent email, only to find it hours later just sitting in your Outbox. When an email refuses to send, the problem almost always points to your Outgoing Mail Server (SMTP) settings.
This is a frequent stumbling block during a manual email setup on an iPhone, where a single typo in the server name can stop all your outgoing mail dead in its tracks.
First, open the stuck email in your Outbox. Occasionally, you'll see a specific error message right there, like "The recipient was rejected by the server," which could mean a simple typo in their email address.
If the address is correct, it's time to check your SMTP configuration.
A Checklist for SMTP Settings
Go to Settings > Mail > Accounts, choose your account, and tap the account name again. From there, find the Outgoing Mail Server section and select your primary SMTP server.
Here’s exactly what to look for:
- Is the Server Switched On? Make sure the toggle at the top is green.
- Verify the Host Name: Carefully check this against the details from your provider (e.g.,
smtp.yourhost.co.uk). A single wrong letter will cause it to fail. - Check Username and Password: Some providers require you to re-enter your email and password specifically for the outgoing server. Make sure they’re filled in and correct.
- Confirm Port and Security: Ensure "Use SSL" is enabled and the Server Port is correct. The most common ports are 465 or 587, but you must confirm this with your provider.
Once you’ve made sure these settings are right, head back to your Outbox. The email should now try to send on its own. If not, tap on it and hit "Send" again.
Resolving Syncing Problems Across Devices
One of the best things about modern email is synchronisation. You read an email on your iPhone, and it should instantly show up as read on your laptop. If that's not happening, it’s a dead giveaway that your account isn't using the right protocol.
This problem almost exclusively happens when an account has been accidentally set up as POP instead of IMAP. As we covered earlier, POP downloads emails to a single device, completely severing the sync between your gadgets.
To fix this, you have to re-add the account from scratch. Unfortunately, you can't just flip a switch to change an existing account from POP to IMAP. You need to delete it and start over.
- First, navigate to Settings > Mail > Accounts.
- Tap on the account that isn't syncing and select Delete Account.
- Now, follow the manual setup steps again, but this time, be absolutely certain to choose IMAP when prompted for the account type.
By taking a methodical approach, you can quickly sort out the most common snags with your iPhone email, ensuring your business communication stays flowing smoothly.
Got iPhone Email Questions? We’ve Got Answers
Getting your email set up on your iPhone is one thing, but keeping it running smoothly is another. When you're running a business, you just need things to work. To cut through the noise, we've rounded up the most common questions we hear, with practical answers to keep your communications flowing without a hitch.
How Do I Secure My Business Email on My iPhone?
Securing your business email is non-negotiable, and it goes far beyond just having a passcode on your phone. The single most powerful step you can take is to switch on two-factor authentication (2FA) with your email provider, whether that's Google, Microsoft, or anyone else. It adds a crucial second layer of defence.
When you add an account with 2FA enabled, your iPhone simply prompts for the verification code from your authenticator app or a text message after you’ve put in your password. Easy. For some manual IMAP setups, your provider might make you generate a special app password—a one-off password created in your email provider's security settings just for the Mail app.
Remember to always, always ensure SSL or TLS is enabled in your manual server settings. This encrypts the connection between your iPhone and the email server, shielding your data as it travels across the internet. It's a simple toggle that makes a massive security difference.
Can I Use Both Personal and Business Email on One iPhone?
Absolutely. In fact, it’s one of the best ways to stay on top of everything. The native Mail app is built to handle multiple accounts without breaking a sweat. You just need to run through the "Add Account" process for each email address you want on your phone.
This gives you a couple of great ways to manage your inbox. You can view a unified "All Inboxes" to see everything at once, or you can tap into each account's individual inbox to keep work and personal life neatly separated.
Here's a critical tip for professionals: set your default sending account. Go to Settings > Mail > Default Account and pick your main business address. This one simple change makes sure that when you fire off a quick reply, it always comes from the correct professional address, preventing any embarrassing mix-ups.
Why Are My Emails Not Updating Automatically?
This is a classic, and it’s almost always down to your "Fetch New Data" settings. If you find yourself having to open the Mail app and manually pull down to refresh, your phone isn't set up for automatic updates.
To get this sorted, head over to Settings > Mail > Accounts > Fetch New Data.
Here’s how to set it up for the best results:
- For your primary business account: Set it to Push if that option is there. This means new emails are delivered the instant they hit the server. No delays.
- For less critical accounts: Choose Fetch. Setting this to every 15 or 30 minutes gives you a fantastic balance between timely updates and preserving your battery life.
- Check Low Power Mode: If your iPhone is in Low Power Mode, it automatically hits pause on background activities like fetching email to save energy. If you need real-time updates, you'll have to turn it off.
Understanding these settings means you can tailor how your email behaves to perfectly match the demands of your business. For more tailored advice on getting your business seen, feel free to get in touch with our digital strategy team for a chat.
At Bare Digital, we turn local search into your most powerful lead-generation engine. Discover how our bespoke SEO strategies can deliver measurable growth for your UK business.